I’ve decided to have another go at learning React.
My first attempt at this was actually for creating Retrograde Online, which was the entire point of this now-pointless blog.
As my brain is broken I will try to write down the stages I am going through for a basic React setup, and hope this act of repetition will make the info stick.
Here are the steps to follow for setting up the tools:
Install Node Version Manager (NVM) on Windows
I am a Windows user (though likely for the last time) and so have to download nvm-windows.
For those unfamiliar with GitHub, to get to the releases section you have to go here:
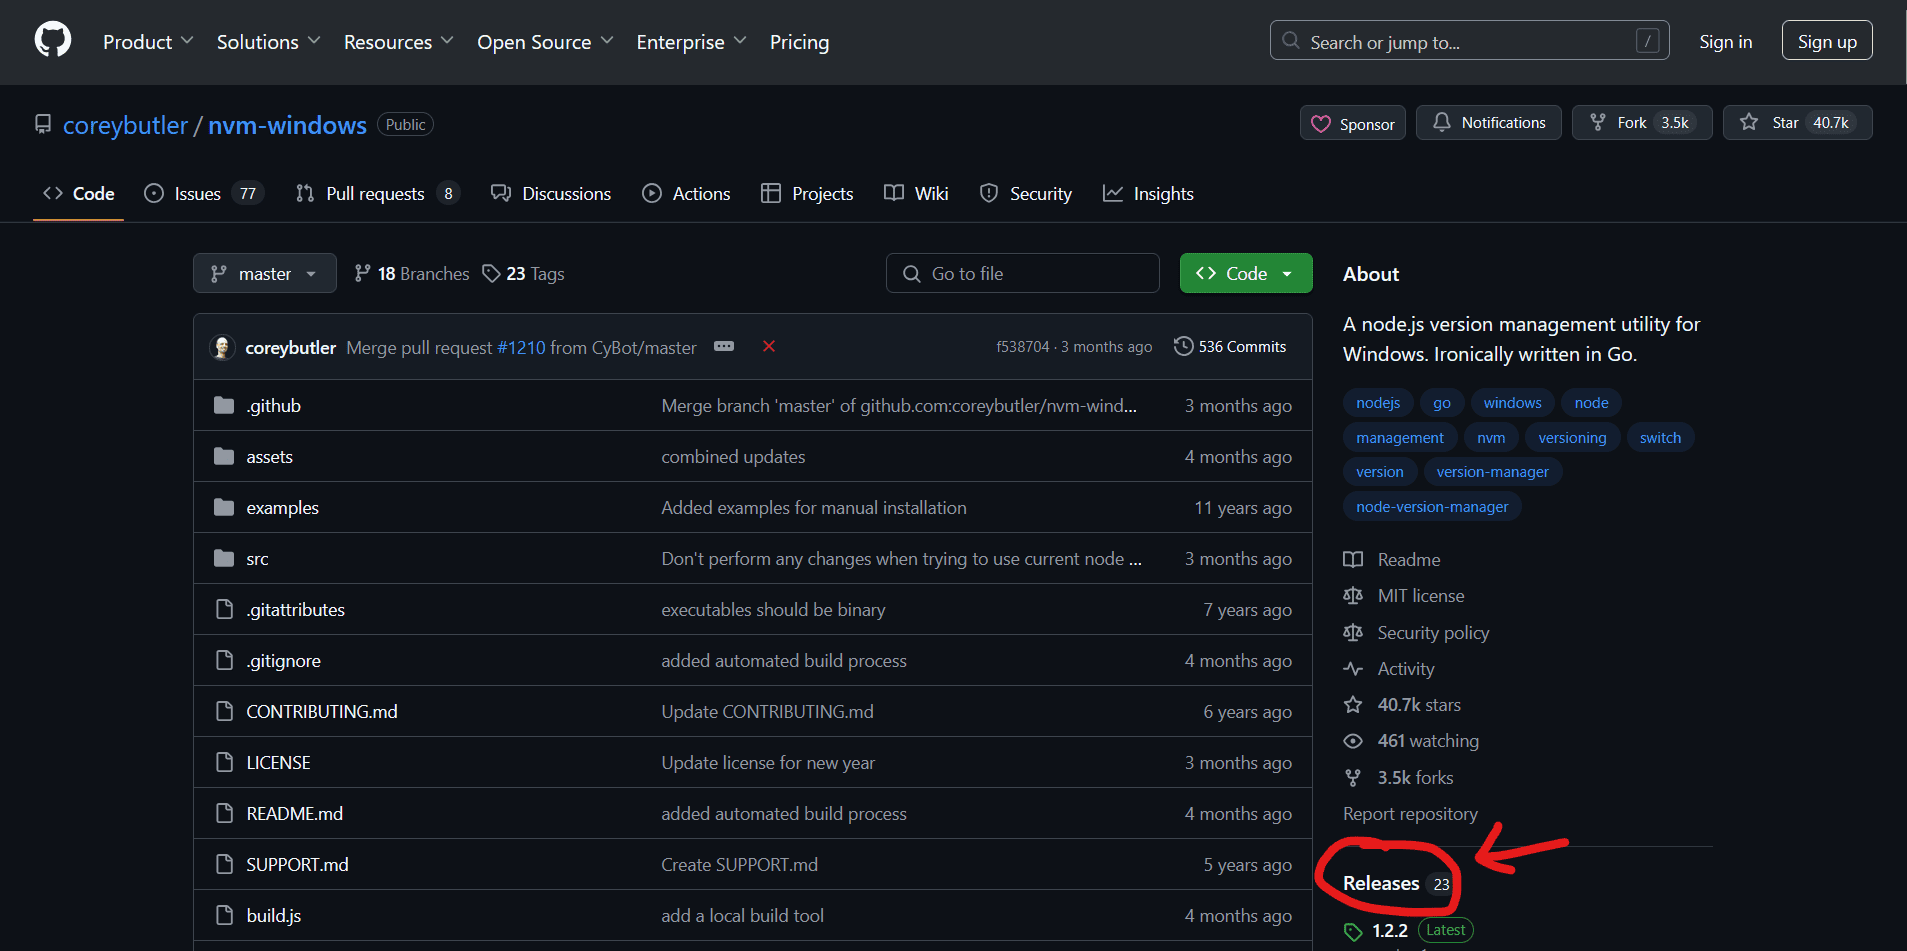
Then scroll down to find the latest nvm-setup.exe and download and install it like any other executable.
Or just use this link to go directly to the 1.2.2 release page.
Install NodeJS via NVM
Now that you have NVM installed you can use it to install Node. Run:
nvm install lts
to install that latest long-term service version of Node.
Create a new React app using Vite
Vite is a build tool for the web.
In your file system, navigate to the place where you want your new React project to live, and run this command:
npm create vite@latest your-app-name
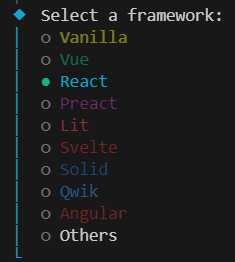
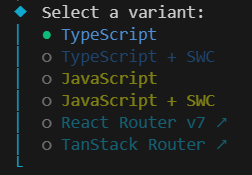
Then follow some prompts to set up the app, choosing React as the framework and TypeScript (or JavaScript if for some outrageous reason you don’t like types):
And that’s all there is to it, vite will now scaffold out the new react project using typescript.
Now you can cd into the project and run:
npm install
to install all of the node dependencies. This will create a new node_modules folder in your project.
Then if you run:
npm run dev
you will see a prompt:
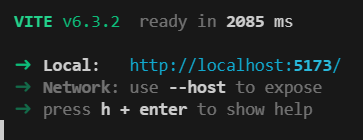
Clicking on that URL will open up your barebones React app in your browser:
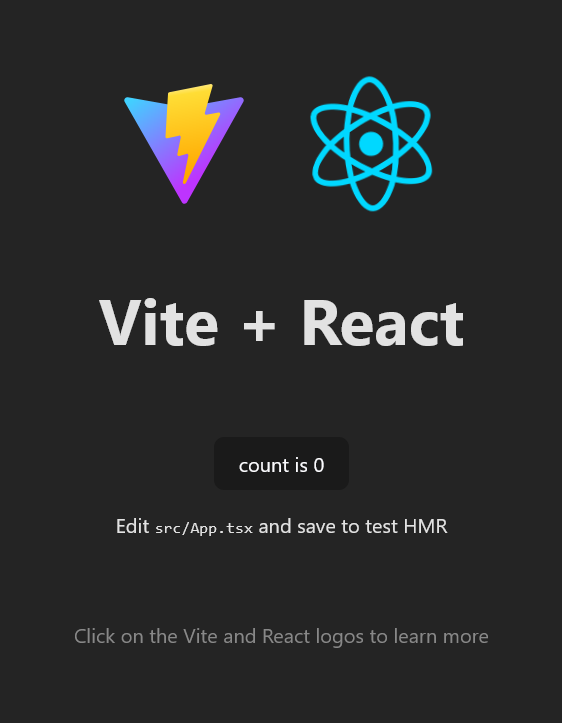
There you go, you are now running your first React app.
The next post will actually be about React.
« Back to Posts | » Part Two: Using Tailwind CSS
20th April 2025